.png)

Table of contents
Last updated: March 25, 2026

For nonprofit organizations, managing finances accurately is crucial to ensure transparency and appropriate use of funds. One powerful tool that nonprofit accounting professionals can leverage is class tracking in QuickBooks. This feature allows nonprofits to categorize and monitor their financial transactions by programs, grants, locations, or any other segment critical to their operations.
A nonprofit's chart of accounts serves as a directory for all financial information stored in QuickBooks Online. Most nonprofits that use QuickBooks Online are on the Plus or Advanced subscription plan, which effectively supports these features (so if you're on a lower tier, you'll want to upgrade). In this article, we will explore how to set up and track classes in QuickBooks for nonprofits, helping you streamline your accounting system, improve fund tracking, and generate detailed reports that align with GAAP (generally accepted accounting principles).
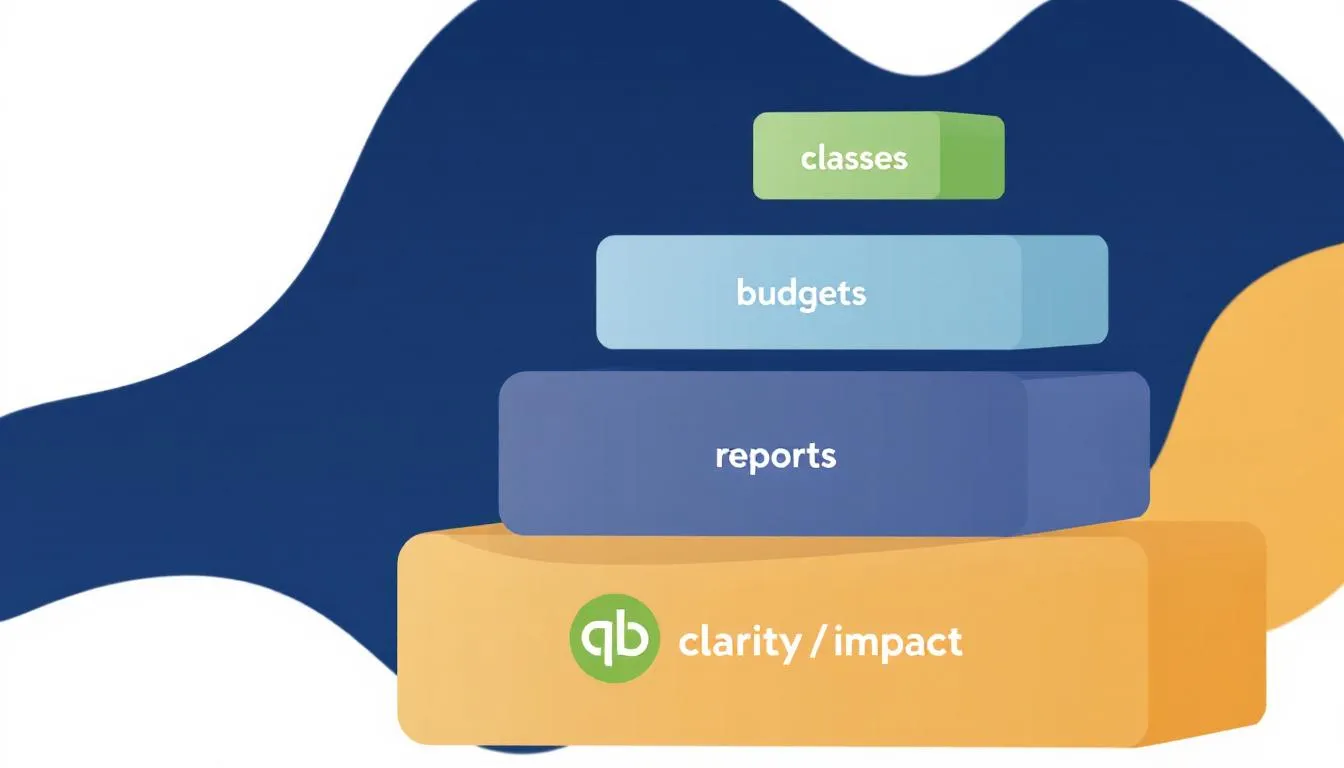
Class Tracking in QuickBooks for Nonprofits
Class tracking is an essential feature in QuickBooks that allows nonprofit organizations to assign classes to transactions, such as income, expenses, and journal entries. This categorization enables better tracking of restricted funds, grant budgets, and functional expenses by program (or location). Using class tracking, nonprofits can gain real-time visibility into how funds are allocated and spent, ensuring compliance with donor restrictions and grant requirements.
For nonprofits, the ability to track restricted donations separately from unrestricted funds is critical. Class tracking helps in managing temporarily restricted funds & provides a simple snpahot of your financial health by program or grant. Nonprofits must segregate net assets into categories with & without donor restrictions to ensure compliance and accurate financial reporting. Nonprofit organizations require a chart of accounts that aligns with Form 990 (as this helps streamline tax filing processes).
QuickBooks Online can be set up to match the revenue and expense disclosure requirements of Form 990. Classes and locations are crucial for tracking nonprofit financial activities in accordance with Form 990 requirements. Classes can also be used to separate revenue and expenses as required by Form 990 (as a reminder... this level of detail supports accurate reporting for tax forms like Form 990 and internal management reports).
Setting Up Class Tracking in QuickBooks Online
To start using class tracking in QuickBooks Online, you first need to enable the feature in your QuickBooks setup.
Here's how:
- Access the Gear Icon: Log in to your QuickBooks Online account and click the gear icon in the upper right corner to launch open the settings menu.
- Next, Go to Account & Settings: From the gear icon menu, select "Account and Settings"
- Enable Class Tracking: Under the "Advanced" tab, find the "Categories" section and check the box for "Track classes." You can also choose whether to assign a class to every transaction or to each line item.
- Change Company Type: Nonprofits should change the company type in QuickBooks Online to 'Nonprofit Organization' to ensure proper configuration for financial management.
- Save Changes: Click "Save" and then "Done" to activate class tracking.
Once enabled, you can add classes by going to the Lists menu, selecting "All Lists," and then choosing "Classes."
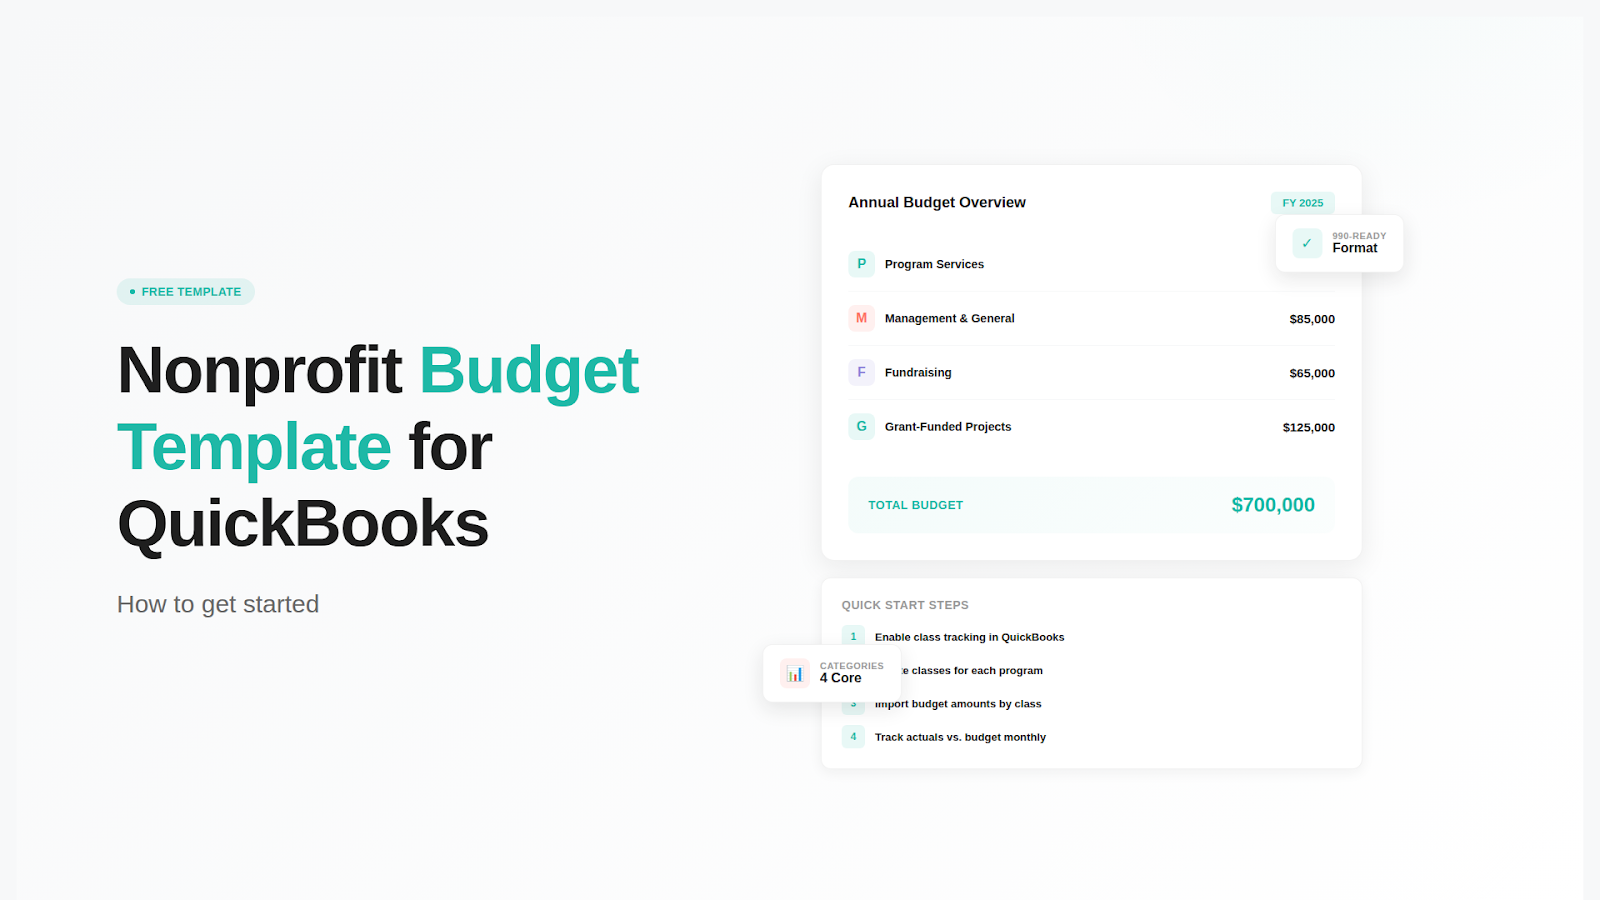
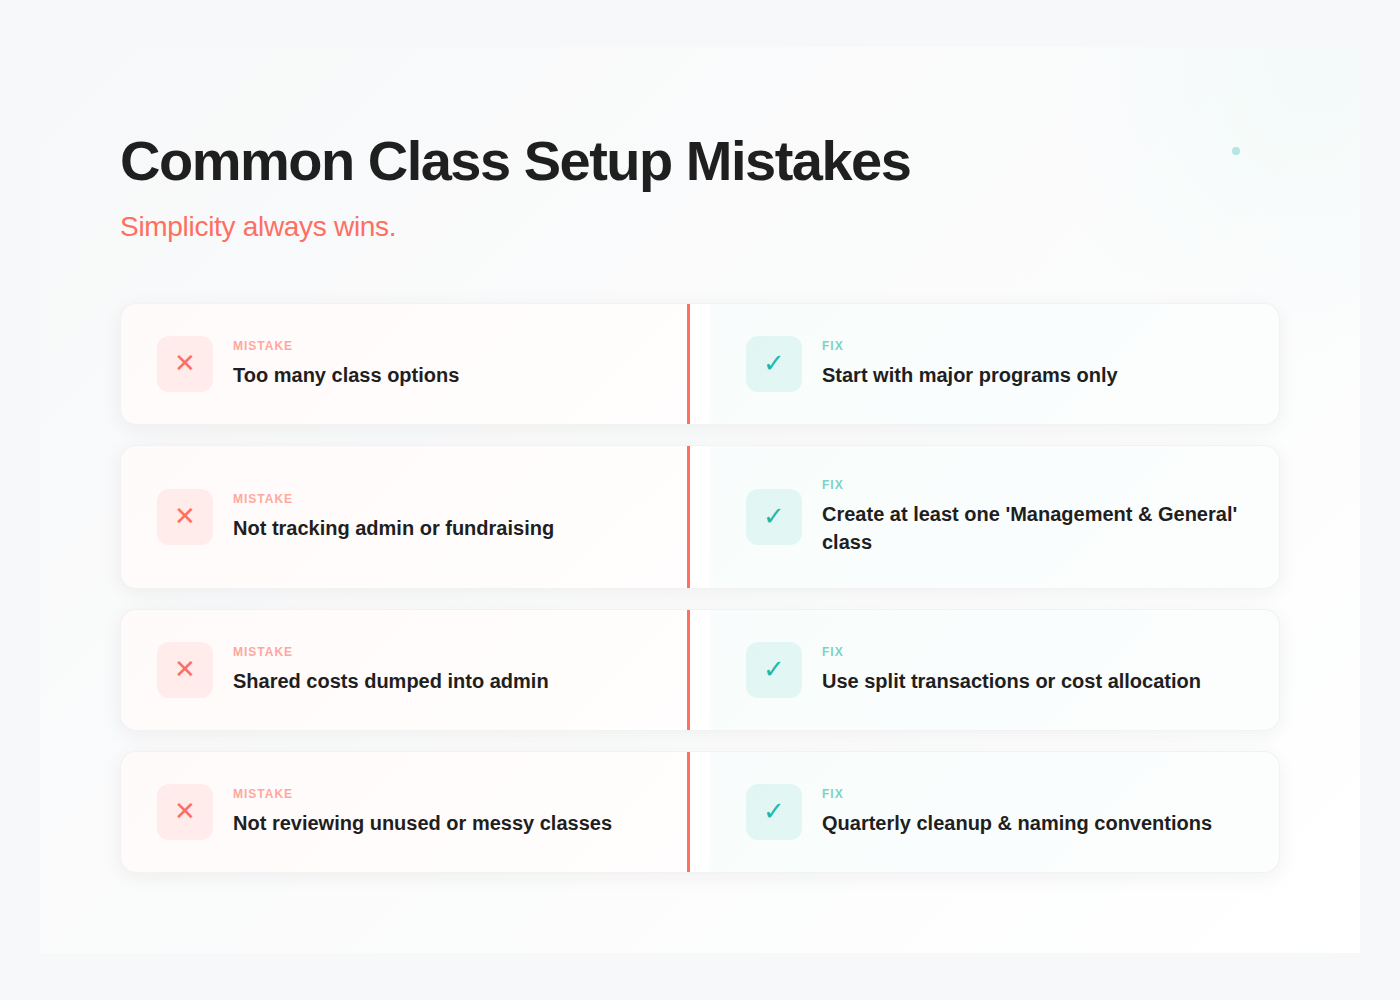
Here, you can create classes that represent your programs, grants, or any other relevant category. For example, you might add classes such as "Youth Program," "Fundraising Event," or "Administrative Expenses." A class for each major program or service shows the direct cost of delivering a nonprofit's mission.
Adding and Managing Classes and Subclasses
After setting up the main classes, you can further organize your accounting system by adding subclasses. Subclasses allow you to break down a parent account into more detailed segments. For example... under the parent class "Programs," you could add subclasses like "Education Program" and "Health Program." A Programs class should have sub-classes for individual programs like "Youth Literacy Program" or "Community Health Services."
A nonprofit's class list should be simple and focused on functional areas to maintain an organized and scalable system. Create broader classes like "Youth Education" rather than specific classes for every event to avoid an unmanageable list. Classes should be used primarily for functional expenses, while other QuickBooks features should track specific grants and projects.
To add classes and subclasses:
- Go to the Lists menu and select "Classes."
- Click on "New" to create a new class.
- Enter the class name and, if applicable, select a parent class to create a subclass.
- Save the class.
Using subclasses enhances your ability to track individual grants or specific fundraising campaigns within broader program categories. This detailed categorization is especially useful for nonprofits managing multiple grants or restricted funds, ensuring every dollar is track accurately.
Pulling it all together: Assigning Classes to Transactions
Once classes are created, it’s essential to assign classes to all relevant transactions.
This includes:
- sales receipts
- invoices
- bills
- journal entries
- expense categorization.
Every time a transaction is entered in QuickBooks, it must have a class assigned to its income or expense account. Assigning classes helps maintain accurate records and facilitates the generation of class reports. For program-related income, assign the corresponding program or grant class to ensure accurate tracking and reporting.
In QuickBooks Online, when entering a transaction, look for the class field on the transaction form. For example, when recording an expense or a sales receipt, select the appropriate class or subclass that corresponds to the program or grant involved. If you opted to assign classes at the line-item level, you can assign different classes to individual items within the same transaction.
For journal entries, ensure that each line is assigned a class to maintain consistency in your accounting data. This practice supports fund accounting principles and helps when preparing balance sheets and income statements (whether its by program or grant).
Understanding Functional Expenses
Functional expenses are a critical aspect of nonprofit accounting, representing the costs associated with carrying out your organization’s mission. These expenses are typically divided into three main categories:
- Program expenses
- Administrative expenses
- Fundraising expenses.
Accurate tracking and reporting of functional expenses are essential for regulatory compliance, transparency, and for completing important tax forms like Form 990.
QuickBooks Online provides nonprofit organizations with powerful tools to track functional expenses through class tracking and location tracking. By assigning classes to transactions, nonprofits can easily categorize expenses by program, administrative, or fundraising activities (this makes reports that support your 990 much easier).
Tracking Restricted Funds and Grant Budgets
Tracking restricted funds is a critical aspect of nonprofit accounting. Donor restrictions require nonprofits to use funds for specific purposes, and QuickBooks class tracking helps ensure compliance by segregating these funds within your accounting system (...however, QuickBooks Online does not directly track restricted fund balances, so tracking them in a separate spreadsheet, or in a tool like actually, is recommended...).
Additionally, nonprofits can track donor restrictions in a separate spreadsheet, as QuickBooks does not track restricted fund balances directly (again, look for add ons). It is also advisable to track grant reimbursements and budgets separately, as QuickBooks Online may not adequately handle complex grant accounting directly. Use split transactions for bank deposits that include multiple donations for different programs, assigning classes to each line item to maintain clarity and accuracy.
By assigning classes to transactions related to restricted donations and individual grants, your nonprofit can monitor the grant spend-down status in real time. This tracking allows you to compare actual expenses against grant budgets, making it easier to manage funding and avoid overspending. Create each grant as a "project" under the associated funder in QuickBooks for detailed reporting.
Additionally, class tracking supports the preparation of financial statements that reflect the use of restricted funds separately from unrestricted funds. This separation is important for audits, tax filings, and donor reporting.
Running Class Reports for Financial Oversight
QBO has multiple class reports such as the Profit and Loss by Class report and the Balance Sheet by Class report. The Profit and Loss by Class report is essential for monitoring financial performance across programs and functional areas (this is the most common one :).
To view them, navigate to Reports, select the Profit and Loss by Class report, and customize it to show financial performance organized by classes.
Here's how to run a Class Report:
- Go to the Reports section
- Then search for "Profit and Loss by Class" or "Balance Sheet by Class."
- Customize the report by selecting the fiscal year or date range relevant to your nonprofit's reporting period.
- Review the report to analyze income accounts, expenses, and balances for each class.
These reports help nonprofit organizations maintain transparency and accountability, making it easier to share financial data with board members, donors, and grantors. They also assist in identifying trends in fundraising, program expenses, and admin costs.
When QuickBooks Isn't Enough
QuickBooks makes class reporting possible but not always easy.
Many nonprofits eventually hit these limitations:
- No real sub-budget roll-ups by grant → especially when multiple grants fund one program
- Program leaders rarely log into QuickBooks
- Collaboration and expense approvals live in spreadsheets
- Manual export needed for meaningful analysis
That's why many growing organizations add a budgeting tool on top.
(Example: Tools like Actually Finance offer real-time budget tracking and permission controls so program managers can see their own budgets — without digging into QuickBooks.)
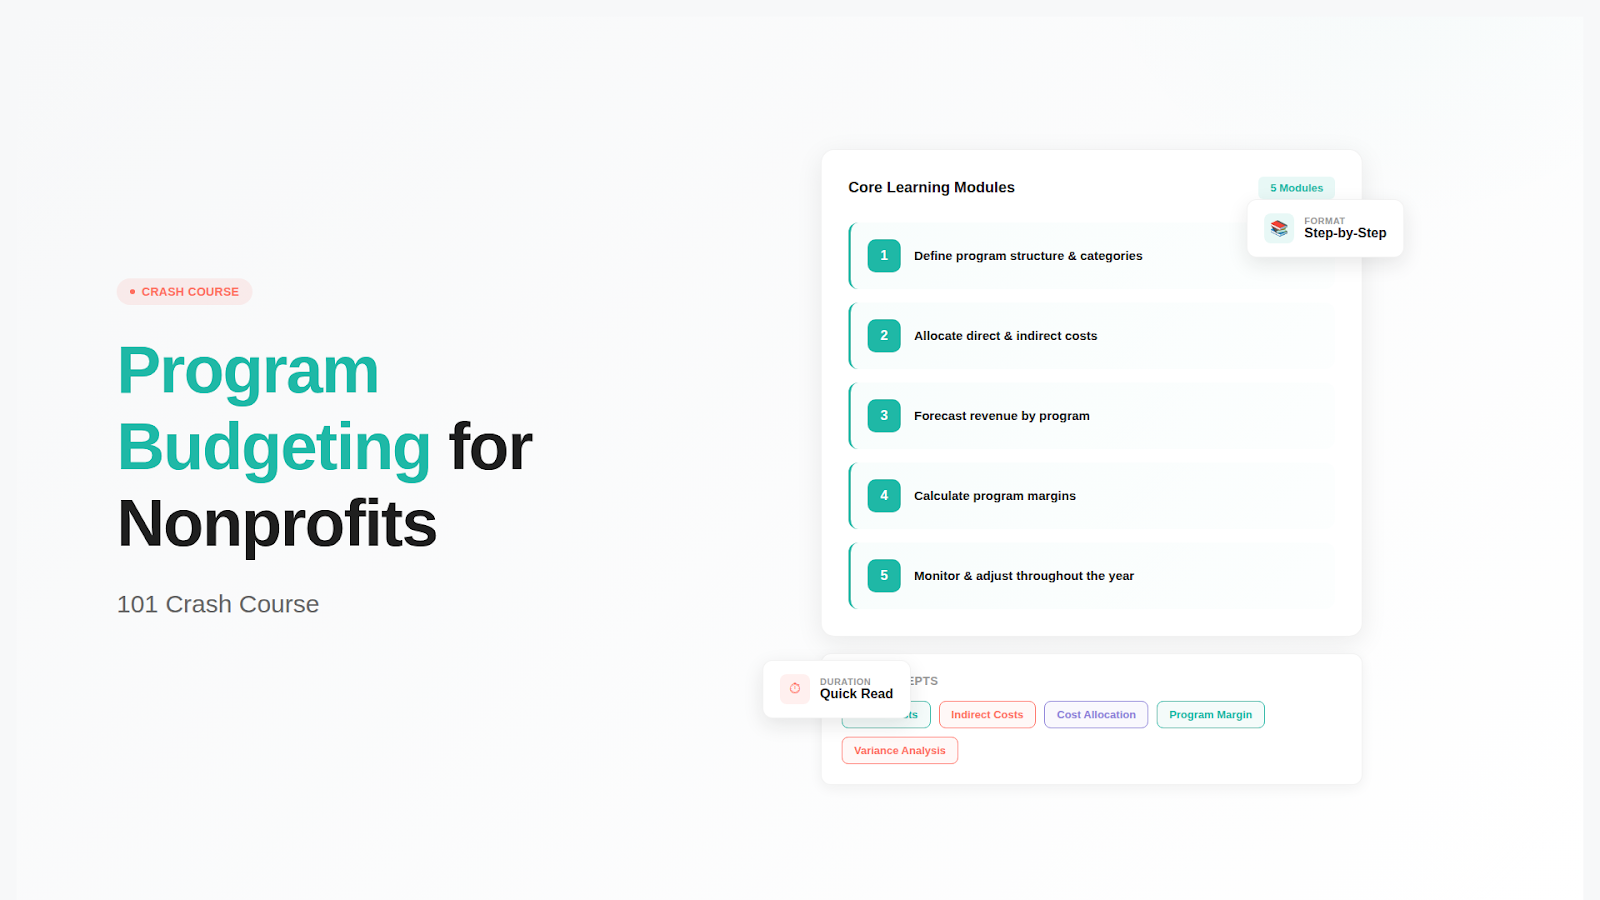
Looking for a budget template to get started? Check out our Nonprofit Budget Template for QuickBooks. For a complete guide to program-based budgeting, see our Program Budgeting for Nonprofits: 101 Crash Course.
Conclusion: Enhancing Nonprofit Financial Management with Class Tracking
In conclusion, Quickbooks online can get you towards your dream of grant or program tracking bliss. It has enough customization that makes it the leading accounting platform for non profit. As you pursue your setup, you'll want to connect with a "QBO Advisor" as well as look at add ons like https://actuallyfi.com/

David Cristello
.svg)
About the Author
David Cristello is the Co-Founder of Actually Finance. He's been an entrepreneur in the accounting and nonprofit space for over 10 years, previously building a company that made the Inc5000 list
.png)
.png)